Photo Techniques- Documentary to Interpretive
October 27, 2011 Leave a comment
In this section of the blog it is my intent to share, not preach. These are techniques I like to perform in the field (or at the computer) as I pursue my photographic vision.
When I stop for a photo opportunity my first instinct is to produce documentary photos. These could be landscape, intimate environmental portraits or close-ups. One of the beauties of digital photography is knowing that I have bagged the shot according to histogram and review screen so I am often left with the question ‘what else can I do?’ Usually my answer (apart from trying different angles and waiting for changes in light) is to try interpretive approaches with my camera. Here are some examples.
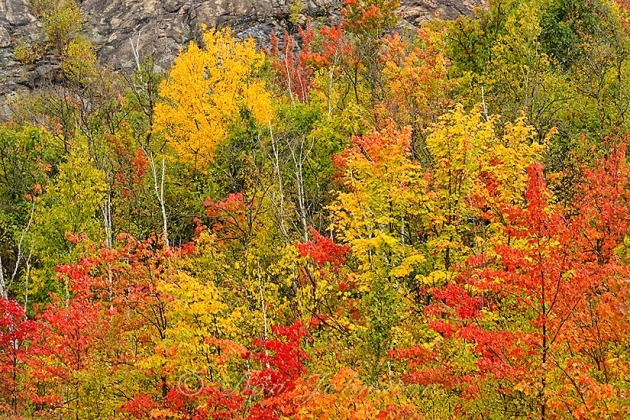
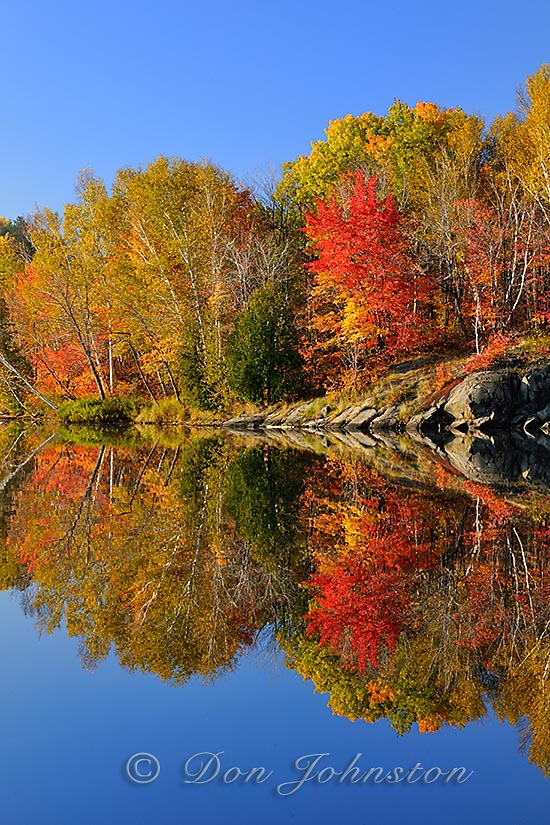
This photo is a documentary landscape image of autumn colour. Documentary images tell stories and describe scenes, perhaps providing some insight into ecological or behavioural relationships in nature.
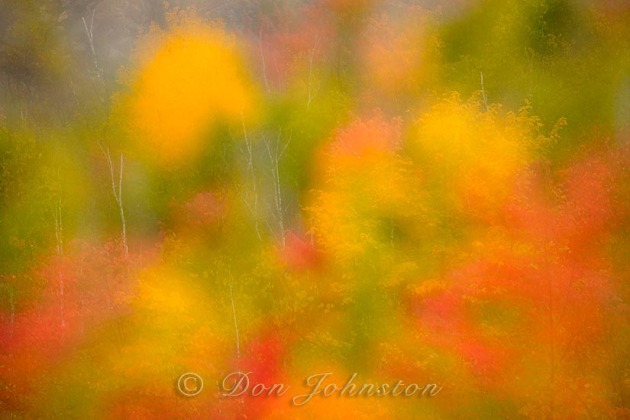
Using in-camera multiple exposure I then treated this scene with an interpretive approach. One frame is exposed in focus followed by five frames out of focus (shallow depth of field) with a bit of zooming thrown in. It creates a dreamy, Orton-like effect. If you don’t have in-camera multiple exposure it may be possible to shoot 5 or 6 separate frames and then combine them later. There are a number of possible variations but I find that 6 frames is a nice starting point for satisfactory results.
Something else I like to do, if I can produce long shutter speeds, is walk with my camera while the shutter is open. Long shutter speeds can be achieved with neutral density filters as well as low ISOs and polarizers.
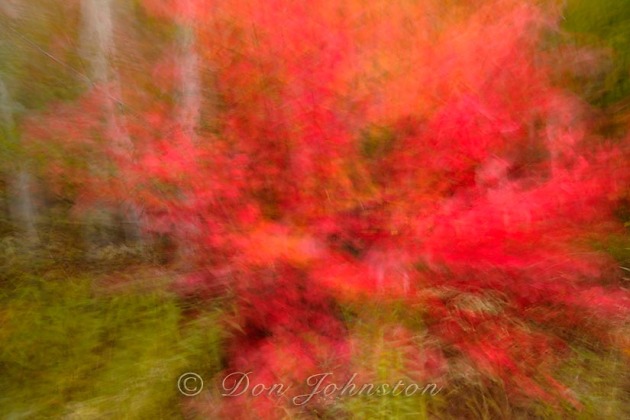
I try this technique on little-travelled back roads. I call it ‘drive-by-shooting’. I try to set the camera controls to produce a shutter speed around 1/8 s, f16, auto focus and aperture priority exposure. As I drive by colourful subjects, I point the lens out my window, one-handed, and loosely try to stay with that subject as I fire the shutter.
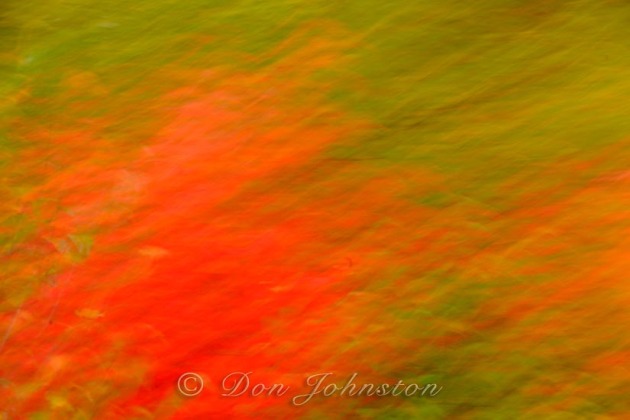
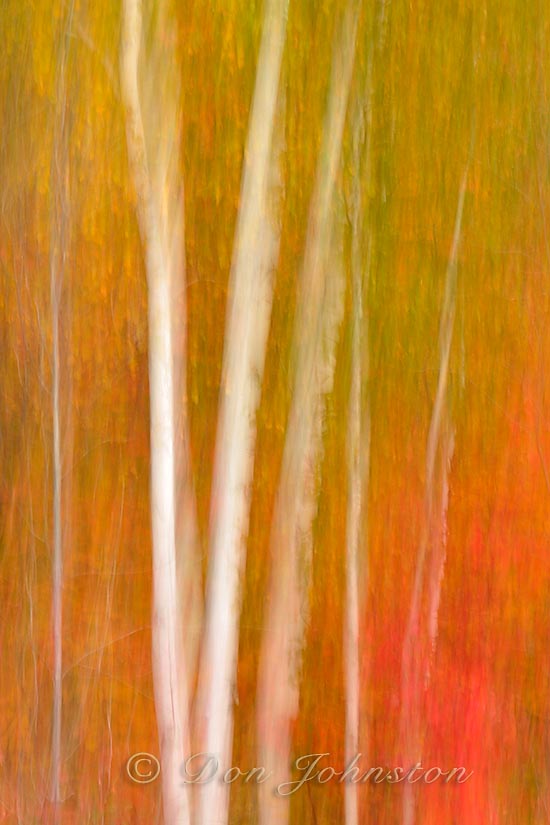
Camera Movement is a tried and true interpretive technique that works well for fall colour, especially if I have tall tree trunks. I like the technique for horizontal as well as vertical. I try to use shutter speeds 1 s and longer and I keep my camera on the tripod, with the ball head loose. I tend to use telephoto zooms for this technique (70-200 mm) but some neat results can be produced using wide-angle lenses, since these lenses exaggerate perspective.
